 Index
Index

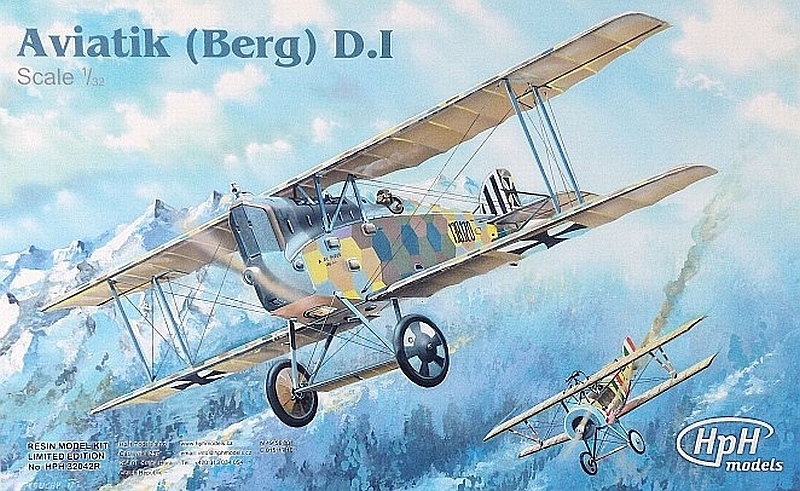
by HpH Models, it depicts the Aviatik Berg D.1

Opening the box revealed four separate compartments with all the parts firmly wrapped in bubble wrap, each of the compartments has their own selection of parts protected from the next compartment by a wall of corrugated cardboard. The instruction booklet was laid on top of the compartments which further protected the contents. Also on top of the compartments were the lozenge masks. The outer cardboard box is also quite robust, my kit arrived with no damage what so ever.


The instruction booklet comprises 20 pages plus the covers. It is printed in full
gloss and full colour with the assembly sequence clearly depicted with photos of
the actual build. Parts are easily identified by part numbers and a paint colour
call-

The PE set is quite comprehensive with some small and very well detailed parts. Removing the parts from the fret is very easily done with the material cutting very easily with a scalpel blade. Also included in the kit are textile seat belts and associated metal parts from the PE set.


The decals are of the wet transfer type, these can be quite difficult to use if you have not had experience working with this type of decal. There are two sheets of lozenge masks with the kit as no lozenge decals are included with the kit, a full set of lozenge decals can be purchased separately from HpH.


There is quite an array of parts for the construction of the engine, the parts appear to be well cast with plenty of fine detail, removing the parts from the backing sheet should not pose any issues as the sheet is very thin. I will be starting this build by doing the engine first.


The main component of the engine went together very well, only minimal clean-


The engine painted up quite well with no special attention to any of the parts. I replaced the kit supplied exhaust pipes with brass pipes cut to the correct length and glued to the cylinders. The exhausts will be painted a burnt metal colour after the engine is installed into the airframe.


A lot of effort has gone into making the internal frame work for the fuselage, it looks nice but very little of it will be seen once the fuselage is closed up, seems like a waste of material. I scribed the panels onto the floor to simulate floor boards.


I have sprayed the internal wood components with Gunze Sail Colour in preparation for the wood colour, I will be using oil paints to simulate the wood. When ever I use oil paints I always add a good quantity of Liquin, this accelerates the drying time of the oil paint.


This is a trial fit of the engine in the fuselage, it is a very tight fit so modifications will have to be made to allow the engine to sit in its proper position.


All the internal parts have been painted and fitted to the inside of the fuselage. I had to remove the water pump and plumbing from the rear of the engine to allow it to fit in front of the cockpit bulkhead. I also had to remove the fourth (last) engine bearer frame to assist in the fitting of the engine into the fuselage, things were a very tight fit so modifications had to be made to allow ease of fitment, none of the changes will be seen once the fuselage is closed up.


The fuselage is now closed up and it went together very well with very little filler required to fill up any gaps, the fuselage halves are also very straight and warp free.


I added all the PE to the sides and bottom of the fuselage, I also added the radiator to the front of the fuselage which is also PE. To coincide with photos I have seen of this aeroplane I added extra side pieces to the radiator using left over PE material.


The horizontal stabilisers, fin and rudder have all been fitted along with the tail skid and bracing bars. Once the glue had set the whole assembly is quite strong, I set the elevators in a down position.


The undercarriage has wire reinforcing inside the resin so it is quite strong, and once the CA was dry it became a very strong and stable assembly. I used a length of brass tube as the cross member in front of the undercarriage wing.


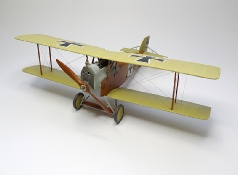
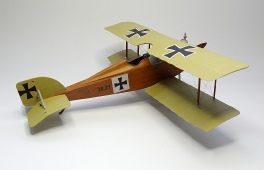
I have decided to depict my model as the Berg prototype which has a wood finish to the fuselage and CDL to the wings and tail, the front section around the engine was a light grey. For the wood I first sprayed with Gunze sail colour then applied Burnt Sienna to simulate the wood. Once it was dry I sprayed the entire model with a satin clear.


I scrounged up some decals from my decal spares box and what I couldn’t find I printed on my inkjet printer using clear decal paper. I sprayed the areas where the decals had to go with a full gloss clear, then when the decals were dry I sprayed them with a satin clear.


The bottom wings are now fitted and they went on extremely easily. I used 1mm copper wire as the pins, these are quite strong but allow for flexibility if needed.


I fitted the cabane struts to the fuselage using 5 minute epoxy, this gave me a very strong fixture. I painted the cabane struts and the wing struts with the same wood colour as the fuselage. The top wing fitted very easy, the struts have good locating pins but I did have to drill the holes in the wings a lot deeper to give me a good mounting point, I used CA to hold all of the locating pins on the struts to the wings, once dry I had a really good solid wing assembly. Rigging is next. So far the build has been quite good, some minor issues were easily sorted but all in all it has been an enjoyable build.
Only two days after fitting the top wing both sides started to sag along with the bottom wing. On the second day and before rigging was commenced the sag at the wing tips exceeded 5mm. An attempt to rectify the sag by using monofilament rigging lines failed as not enough tension could be applied to straighten the wings. I inverted the model and placed a 3mm piece of material on my bench under the centre of the top wing, I then placed weights on the bottom of the top and bottom wings, this pushed the wing tips of the top wing onto the bench. I used a hair dryer to heat the wings firstly the top wing then the bottom wing applying heat to both left and right sides of the wings. I was careful not to apply excessive heat as this would have damaged the decals and paint work. I then allowed the wings to cool for at least half an hour, removed the weights and sat the model upright, the wings are now straight or just a fraction beyond straight giving a very slight dihedral. I then fitted the flying wires using 0.12mm monofilament to hold the wings in there current position. All appears to be holding well as the wings have not sagged at all, the combination of heat, weights and rigging has rectified the situation.


It appears that the wing sagging issues has been resolved with no sagging appearing
during the day. I used a combination of 0.12mm monofilament and 0.12mm Modelkasten
elastic rigging line to complete the rigging, the monofilament was used where structural
strength was required. After all the rigging was fitted they were painted with Mr
Metal Color Stainless. The rigging on the wings is only very basic and was very easy
to fit, the undercarriage rigging was also very basic. I still need to add the two
ailerons to the wings, these will be painted first then added and the control wires
fitted, that will see an end to this build. Apart from the wing sagging issues the
build has been quite enjoyable, fit of most parts has been good and very little in
the way of clean-
Here are a series of photos showing the completed HpH Aviatik Berg D.1 model, it has been a real pleasure building this kit even though there were a few issues. The main concern were the sagging wings but my method to rectify the issue worked very well, it has been two days now since the repair and the wings have not moved a fraction.
Being a full resin kit scares a lot of modelers off but I can honestly say that this resin kit went together nearly as well as an injection moulded kit, it is one of the best resin kits I have built. The plane is not the prettiest aeroplane ever built but finished in the wood look gives it a certain appeal, it looks good sitting among my other models. I would recommend this kit to anyone who has had resin kit experience.


